Integrating Foot Procreate Stamp Graphic Session 13 into Your Digital Illustration Workflow
In the rapidly evolving landscape of digital illustration, efficiency is often just as critical as artistic talent. For professionals and hobbyists alike, the ability to maintain consistency while reducing repetitive manual labor can define the success of a project. This is where specialized assets like Foot Procreate Stamp Graphic Session 13 become invaluable. Rather than viewing these tools as mere shortcuts, successful creators integrate them as foundational components of a broader, more strategic design process. Understanding how to effectively deploy these stamps within your existing pipeline allows for a smoother transition from concept to final render, ensuring that technical execution supports rather than hinders creative vision.
The Role of Specialized Stamps in Modern Digital Art
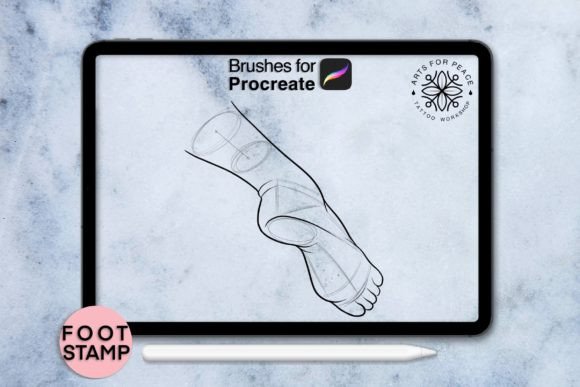
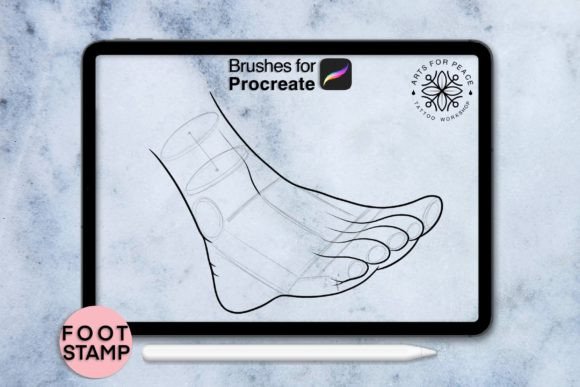
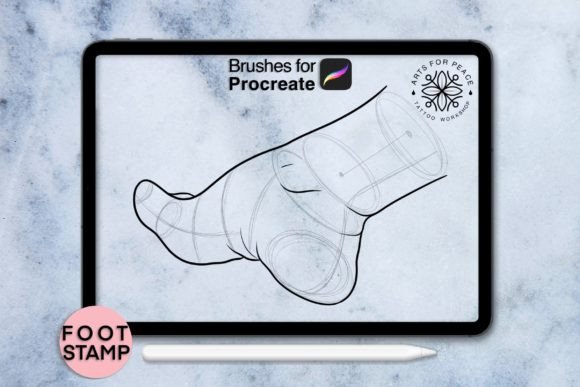
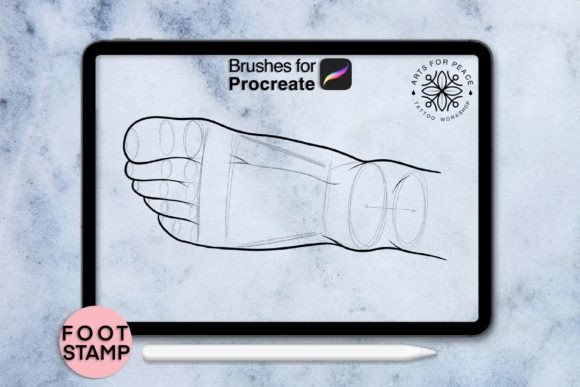
Digital art has moved far beyond simple sketching on a screen. Today, it involves complex layering, texture mapping, and rapid iteration. Foot Procreate Stamp Graphic Session 13 serves as a targeted solution for artists who need high-quality, consistent foot illustrations without the time investment required to draw them from scratch every time. Whether you are working on character design, medical illustrations, fashion sketches, or anatomical studies, having a reliable library of pre-rendered elements allows you to focus on composition, lighting, and narrative.
The integration of such assets fits seamlessly into the middle stages of a creative workflow. After initial brainstorming and rough sketching, artists often reach a phase where detailing becomes tedious. This is the optimal moment to introduce stamp graphics. By placing a base structure using the session files, you establish accurate proportions and perspective immediately. This reduces the cognitive load associated with anatomical accuracy, freeing up mental resources for stylistic choices and environmental integration.
Technical Requirements and Compatibility
Before integrating any new asset pack into your workflow, it is essential to verify technical compatibility. Foot Procreate Stamp Graphic Session 13 is designed specifically for the Apple ecosystem, requiring an iPad Pro or a standard iPad paired with an Apple Pencil or a stylus that supports pressure sensitivity. This hardware requirement is not arbitrary; pressure sensitivity is crucial for blending the stamped images into your artwork naturally. Without it, the stamps may appear flat or disjointed from the rest of your hand-drawn elements.
Furthermore, software versioning plays a significant role in usability. The asset pack requires Procreate Version 5.0 or higher. Older versions of the app may lack the brush engine optimizations or file handling capabilities necessary to render the .brushes or .swatches included in the ZIP file correctly. Ensuring your software is up to date prevents technical glitches that could disrupt your creative flow. It is also important to note that while the promotional materials may display various fonts, mockups, and background photos, these are for presentation purposes only. The purchase includes only the digital stamp files, so users must prepare their own canvas environments and complementary assets.
Workflow Integration: From Import to Implementation
Implementing Foot Procreate Stamp Graphic Session 13 begins with proper organization. Upon downloading the ZIP file, extract the contents immediately. You will find either .brushes or .swatches, depending on the specific format of the session. Importing these into Procreate is straightforward, but creating a dedicated brush set or swatch palette for this session helps maintain a clean workspace. Labeling this set clearly ensures that you can locate these specific tools quickly during intense work sessions, minimizing context switching.
Once imported, the practical application involves more than just tapping the screen. To achieve professional results, consider the following implementation strategies:
- Layer Management: Always place stamps on separate layers. This non-destructive approach allows you to adjust opacity, blending modes, and position without affecting underlying sketches or background elements.
- Color Harmonization: Use the color picker tool to sample colors from your existing palette before applying the stamp. This ensures that the foot graphics match the lighting and tone of your illustration, preventing them from looking like stickers pasted onto a canvas.
- Transformation and Perspective: Utilize Procreate’s transform tools to adjust the scale and angle of the stamp. Even high-quality assets need to align with the perspective grid of your scene. Rotating and warping the stamp to fit the ground plane or character pose is essential for realism.
Enhancing Efficiency in Professional Projects
For entrepreneurs, marketers, and freelancers, time is a direct cost. Using Foot Procreate Stamp Graphic Session 13 can significantly reduce the billable hours spent on repetitive anatomical details. Consider a scenario where a graphic designer is creating a series of social media posts featuring diverse characters. Instead of drawing feet for each variation, they can use the stamp session to generate consistent base shapes, then customize footwear and skin tones. This method ensures brand consistency across multiple assets while drastically cutting down production time.
Educators and publishers also benefit from this streamlined approach. When creating instructional materials or children’s books, consistency in character anatomy is vital for reader engagement. By relying on a standardized set of stamps, illustrators can maintain uniformity across dozens of pages. This reliability is particularly useful when working with tight deadlines or when collaborating with other artists who need to match a specific style guide.
Quality Control and Artistic Integrity
While automation and assets improve speed, they should not compromise artistic integrity. The key to successfully using Foot Procreate Stamp Graphic Session 13 lies in customization. A common mistake among beginners is using stamps "out of the box" without modification. To avoid this, always refine the edges of the stamp using eraser brushes or masking tools. Blend the boundaries where the stamp meets the skin or ground to eliminate hard lines.
Additionally, consider the lighting direction in your scene. If your light source comes from the left, ensure that the shadows cast by the stamped foot align with this direction. You may need to add manual shadow layers beneath the stamp to anchor it in the environment. This level of attention to detail distinguishes amateur compositions from professional-grade illustrations. The stamp provides the form, but the artist provides the context.
Long-Term Asset Management
As your library of digital assets grows, organization becomes increasingly important. Treat Foot Procreate Stamp Graphic Session 13 as part of a larger ecosystem of tools. Regularly back up your custom brush sets and swatches to cloud storage or external drives. This practice protects your investment and ensures that your workflow remains uninterrupted in the event of device failure. Furthermore, periodically review your usage patterns. If you find certain stamps from Session 13 are used more frequently than others, consider creating quick-access shortcuts or favorites within Procreate to further enhance efficiency.
It is also beneficial to stay updated with future sessions or complementary packs. Artists often release themed collections that work well together. By keeping your toolkit current, you ensure that your workflow remains modern and competitive. However, resist the urge to collect assets indiscriminately. Focus on acquiring tools that solve specific problems in your current projects. Foot Procreate Stamp Graphic Session 13 is a targeted solution for anatomical consistency; evaluate whether it fills a genuine gap in your process before integrating it fully.
Conclusion
Incorporating Foot Procreate Stamp Graphic Session 13 into your digital art routine is not about replacing skill with shortcuts. It is about optimizing your workflow to maximize creative output. By understanding the technical requirements, organizing your assets effectively, and applying rigorous quality control, you can leverage these tools to enhance both the speed and consistency of your work. Whether you are a freelancer managing tight deadlines or a hobbyist looking to refine your technique, these stamps offer a practical pathway to more efficient and professional results. Remember, the tool is only as effective as the strategy behind its use. Plan your integration, respect the technical constraints, and let the assets serve your broader creative goals.